SCAN BASED INSPECTION
Our Process
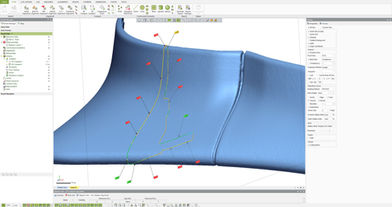
We offer a professional 3D quality control and dimensional inspection service. We use the power of industry-leading scan-based inspection software with metrology grade 3D scanners to allows us to interpret parts in ways previously not possible. We use inspection software in combination with a 3D scan to produce a highly accurate comparison between CAD models and physical parts. Our service will allow you to gain a deeper insights beyond pass/fail for your parts. We can scan parts to leverage rich data to understand why parts are in or out of tolerance. This will allow us to help you optimise manufacturing processes, and recognise and address issues faster.

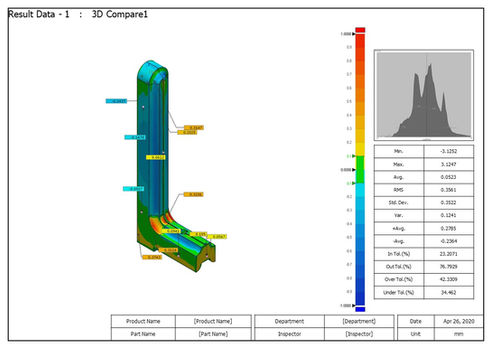
The usual deliverable to the client is in the form of a PDF report, including a 3D page where clients can view the deviation in an interactive 3D viewer. Deviation is calculated from a CAD nominal or previous base line scan data taken from a known in spec part. For smaller parts, we can use a range of 3D scanners providing suitable scans for the application of inspection. For larger parts that cannot be moved, such a tooling, jigs or large installations, we use portable solutions to inspect in situ.
Our Work
A collection of Inspection projects we've worked on recently


